Ah, so you want to build electronics, yes? Very good! Like building with tiny Lego bricks, but with electricity! Very precise, very satisfying when all the blinking lights work, ah yes.
Highlight
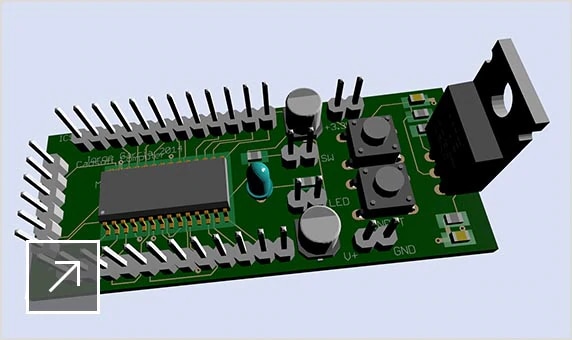
Free Online Eagle PCB Library: Footprints & Layouts | Ultra Librarian: Simplify Your Design Process! Pcb library for eagle
Ah, so you want to build electronics, yes? Very good! Like building with tiny Lego bricks, but with electricity! Very precise, very satisfyi...
Wednesday, May 21, 2025
Tuesday, May 20, 2025
High Power LA4440 Double IC Stereo Audio Amplifier with Bass and Treble Control: DIY Guide! Amplifier ic stereo audio double circuit treble bass control power high working
Ah, you want make big sound system for your karaoke, eh? No problem! We got you covered! These amplifier projects, they really pack a punch! We talk about stereo, bass, treble – all the good stuff. Get ready to sing your heart out!
Monday, May 19, 2025
John Deere 322 Wiring: Tractor Electrical Fixes! [diagram] john deere 322 lawn tractor wiring diagram
Ever wrestled with the wiring on your John Deere and felt like you're staring into a bowl of spaghetti? Don't worry, you're not alone! Electrical gremlins can be a real pain, especially when they're keeping you from enjoying your perfectly manicured lawn or tackling those tough garden chores. Understanding your tractor's wiring diagram is essential for troubleshooting electrical issues, performing maintenance, and even adding aftermarket accessories.
HP Pavilion Wiring Diagram – Laptop Repair Made Easy! Schematic diagram hp pavilion laptop
Oh, the glorious world of laptop repair! It's a land of tiny screws, questionable soldering, and the ever-present fear of releasing the Magic Smoke. You know, the stuff that makes electronics work until you let it out. Then, suddenly, it's just a paperweight... a really expensive, complicated paperweight. And what guides us through this minefield of circuits and resistors? Schematics, of course! These aren't your grandma's knitting patterns; these are the blueprints of digital life, a chaotic yet strangely beautiful roadmap to understanding what makes our precious devices tick.
LED Clock Using 555 and 4017 (No Programming Needed): DIY Guide for Beginners! A man holding up a drink in front of a clock with arabic writing on it
The realm of electronics offers countless opportunities for innovation and creative application. Among the fundamental and widely used circuits are LED chasers, which provide a visually appealing and dynamically changing display. These circuits, often built around the reliable IC 4017 decade counter and the versatile IC 555 timer, demonstrate basic principles of digital and analog electronics. Let's delve into a couple of examples of such circuits.
Sunday, May 18, 2025
DALI Wiring Diagram: The Ultimate Comprehensive Guide! Detailed wiring diagram for dali lighting control system
Alright, check it, fam. We're gonna break down this DALI LED driver situation. Straight up, understanding how to wire this thing ain't always the easiest thing to wrap your head around, but we gonna get through it together. This ain't no rocket science, just good ol' fashioned electrical know-how. Let's get this bread, y'all!
Look, the whole point of a DALI (Digital Addressable Lighting Interface) system is to give you *control*. Real, serious control over your lighting. Think about it: dimming lights precisely, setting scenes, and even monitoring the whole system for problems. No more just flicking a switch and hoping for the best. This is about getting *specific* with your illumination. And that all starts with understanding how to hook everything up right. So, pay attention, and let's dive in.
Apple iPhone 5 Disassembly Motherboard Schematic Diagram: Service Ways IC Solution Update! Apple iphone x disassembly motherboard schematic diagram service ways
Analyzing intricate electronic systems requires a deep understanding of component placement and interconnections. Disassembly and schematic diagrams are invaluable tools for technicians and engineers working with sophisticated devices such as modern smartphones.
Subscribe to:
Posts (Atom)